


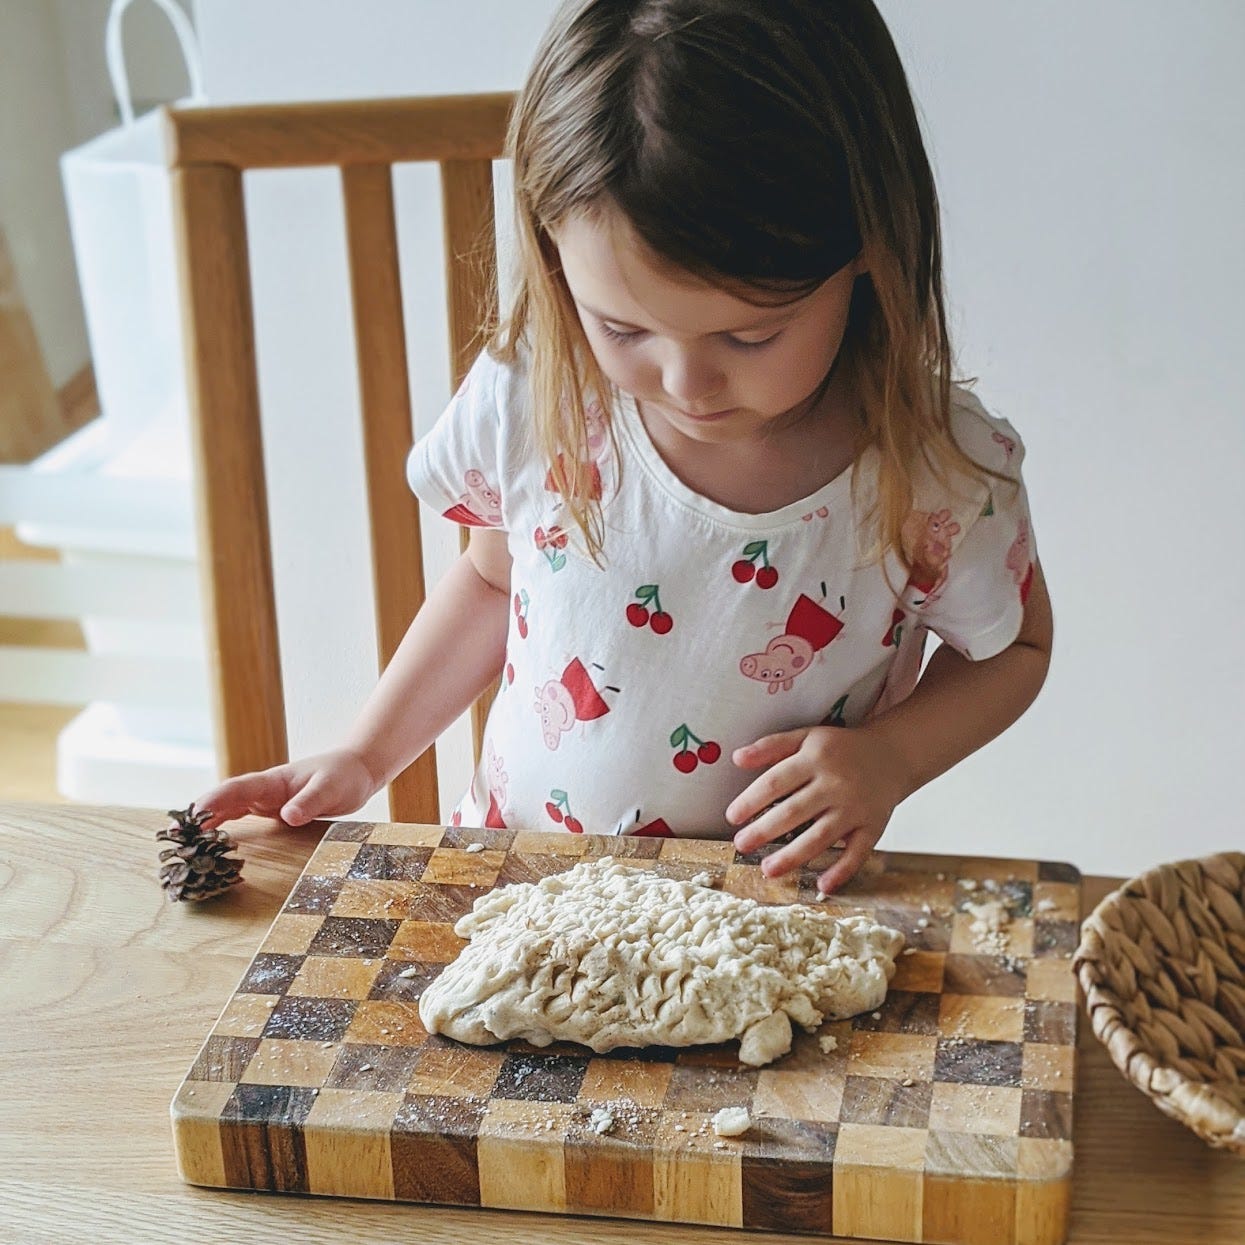
When my children were little, we regularly made play dough together. Whilst a tad messy, it was ultimately a low-stakes activity that we loved doing.
Fast-forward to today and I am 100% convinced that my daughter enjoys baking so much because we spent such a lot of time experimenting with playdough.


Easy Homemade Play Dough Recipe
When making play dough with your child at home, I recommend opting for the no-cook method. This allows them to be fully involved in the process - the alternative method (cooking play dough over the stove) wouldn't really be feasible with a very young child. You can find the exact recipe that we use at the end of this post.
Some benefits of making play dough WITH your child:
Helps boost hand-eye coordination
Early maths skills - weighing ingredients, counting measures
Develops fine motor skills
Fills their cup! It's a great way to spend time together
Builds confidence and helps to foster independence
Introduces new vocabulary and builds language skills.


Age Recommendations
We usually start introducing play dough (and making it) at around the age of 2-2.5 years-old. You need to be extremely careful, particularly with homemade play dough because of the high quantities of salt used.
Our Easy Homemade Play Dough Recipe
This is the method we use for making homemade play dough every single time. I just want to point out a few things though:
Exact measurements will differ according to the ingredients you use - that's why we add the water last AND pour it gradually. You don't need to use the full quantity of water if the play dough already feels soft and springy - you definitely don't want soggy dough
Making play dough WITH your child is an experience. You wont end up with perfect dough but it WILL be a fantastic learning experience for them.
Download the recipe card:
No-Salt Play Dough
If your child tends to put everything in their mouths, then try this no-salt homemade play dough recipe instead.
Ingredients
2 cups of plain flour
1 tablespoon of rapeseed oil
Water (cooled boiled water added gradually)
Lemon juice
Optional - Lemon rind / mint / rosemary
Method for salt free homemade play dough
Add the plain flour, rapeseed oil and a squeeze of lemon juice, then mix well. The mixture should look like breadcrumbs
Dribble water in gradually and stir until the mixture starts to combine.
Knead with your hands. If it is too wet, add more flour and if the mixture is too dry, add a little more water.
Grate orange / lemon rind on top
Chop rosemary / mint
Mix both in well by kneading again.
Recommended age: 12 months plus
This recipe will only last a day or two and you will need to store it in the fridge.
Homemade Play Dough Care Tips
Ingredients
After spending the first half of the year in Austria without being able to source cream of tartar, I can honestly say that it makes the biggest difference in the success of the play dough. We tried using lemon or lime juice instead but it just wasn't the same. I've since started ordering cream of tartar from Amazon (is that crazy?!) and it's made the biggest difference!
Without cream of tartar, the dough would get crumbly fast, but now we have lovely soft, smooth play dough again - yay!
Storage
You've gone to the effort of making the play dough, you need to store in correctly! We tend to wrap ours in ziplock bags (which we reuse for new batches) then we seal the dough inside a IKEA GLIS container.
Generally speaking, keeping the dough in a cool dry place will be enough to make it last for up to 4 weeks. However, in the summer we have occasionally kept the dough in the fridge to stop it from going sticky.
What to do with dry dough:
If your little one has been playing for some time with the play dough then it is likely to get dry. If needed at the end of a play session, we add a drop or two of water to the dough using a pipette to revive it. Works like a charm!
How to prevent sticky dough:
When making dough, the best thing we've found is to knead it by hand to get all of the stickiness out. If you're still finding the texture a little too much on the sticky side however, keep rolling into small amounts of flour until you get the right, 'springy' consistency.